How to Hand Build your Own Affordable Shed

A shed is a great storage solution to store away all your equipment and outdoor tools. It is also a handy workshop for work projects, so it won’t clutter up your garage. They are a very important benefit to any garden or yard. They keep everything organised and safe. Whichever type you want to build whether it’s a simple sized shed or a more modern one there are many designs out there for everyone. Read on through this blog as I am going to go through step by step ways on how to build your own shed in an affordable way. Check out our website here for some helpful tips on the best types of sheds that are available in Ireland
  • Requirements

Legal regulations
Check with the local council as to whether there are any regulations, and do you need a permit for building the shed.
> Budget and Design
Ask yourself these questions and write them down. Where do you want to build the shed, why do you want the shed, what do you want to store in it, and what size should it be. The goal is to build a shed that is rock solid and long-lasting. The design of the shed should fully maximise the money and budget that is being spent on materials, etc.
> Materials and Tools
Gather all materials and tools that are needed to build the size of shed that you want. Buy the exact quantity that you need so you don’t waste money overbuying on materials that you won’t use or need.

For the bes tmaterials we recomment using buildstore.ie

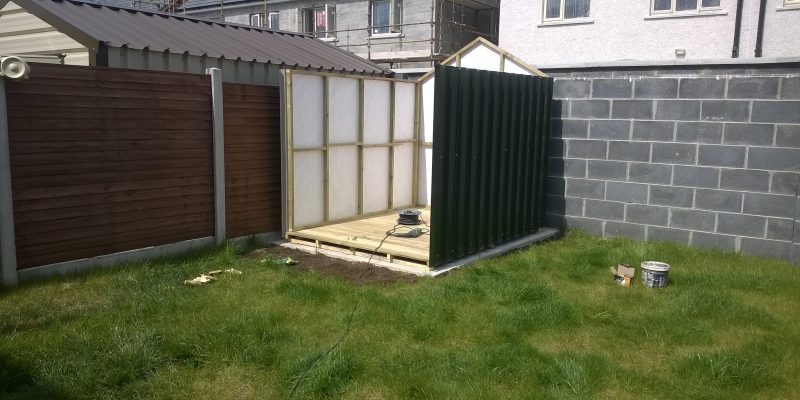
  • Lay your Foundation and floor frame for the shed
Once you have gathered all materials and tools that are needed to start building your shed, you can then start by placing your floor frame and a solid foundation. It should be resilient and strong, so your shed can survive and be long-lasting. You should use timber that has been pressure treated to make sure the shed will not rot, go damp, or cause an infestation. You need a clean foundation level so clear any rocks, or bushes that may be in the way. Now start building your floor frame. To make bands and joints cut out your Timber. After cutting, put them together and nail both so this will support your frame and keep the whole thing in place. Place the skid timber underneath your frame and use three skids for the extra support. Learn more about how to build a shed foundation!
  • Complete Floor
Tongue and groove plywood is your floor foundation. They are highly resilient and durable. Carefully trim with a circular saw and cut the plywood into shapes and make sure that they fit perfectly into the foundation. You can screw down your flooring with 3-inch deck screws.
  • Build your front and back walls and the door
You have your foundation and floor all done. You can now start working on setting up your front and back wall, and the door. It starts to get really exciting then as you are half way there to building your very own shed. Start by putting your front wall frame and door together with the selection of materials you have bought some of which should include wall studs, wall plates, plywood, exterior siding, etc. Build your door yourself or simply purchase one. Measure your door properly before you cut the wall to integrate the door into the wall. Do the same methods for the back wall and door also. Once the walls are set up make sure your exterior siding plywood is not overlapping the edges.
  • Build your side walls and Window
Firstly, you need to choose which side you want your window on the right or left wall. Cut in the measurements for the opening of your window. Like what you did for your door. Make your side walls very similar to your front and back walls with wall studs, exterior siding plywood, etc, once they are ready to go you should fix them into place. Use galvanized nails to attach the structures together and attach your exterior siding plywood.
  • Add your Roof
Your shed is nearly ready now that everything is in place you can start on building your roof. You start by building six roof rafters all having at least 3 inches of overhang. To have an even roof you must make sure that all the truss is the same. Once you have finished all the rafters start by fitting the gussets to each rafter on both sides. Nail in the rafters on the upper plate of the wall to get your roof skeleton ready. Every rafter must be 2 inches away from each other. Nail on your siding plywood to the outer rafters.
  • Complete your roof with Shingles
Now your roof is complete you are almost finished. You will now fit your roof felt and shingles which will make your roof more resilient, robust, and more attractive looking. The best options to use for this would be felt, fibreglass, and metal roof sheets. Any of these would be fine. We would recommend Felt as your choice for the roof as it is the easiest to fit and work with and it is highly water resistant to bad weather. Use a roofing stapler to put your felt in place.
You have now completed your own shed. To add those extra features paint inside and out, fit shelves and shutters to finish the look.